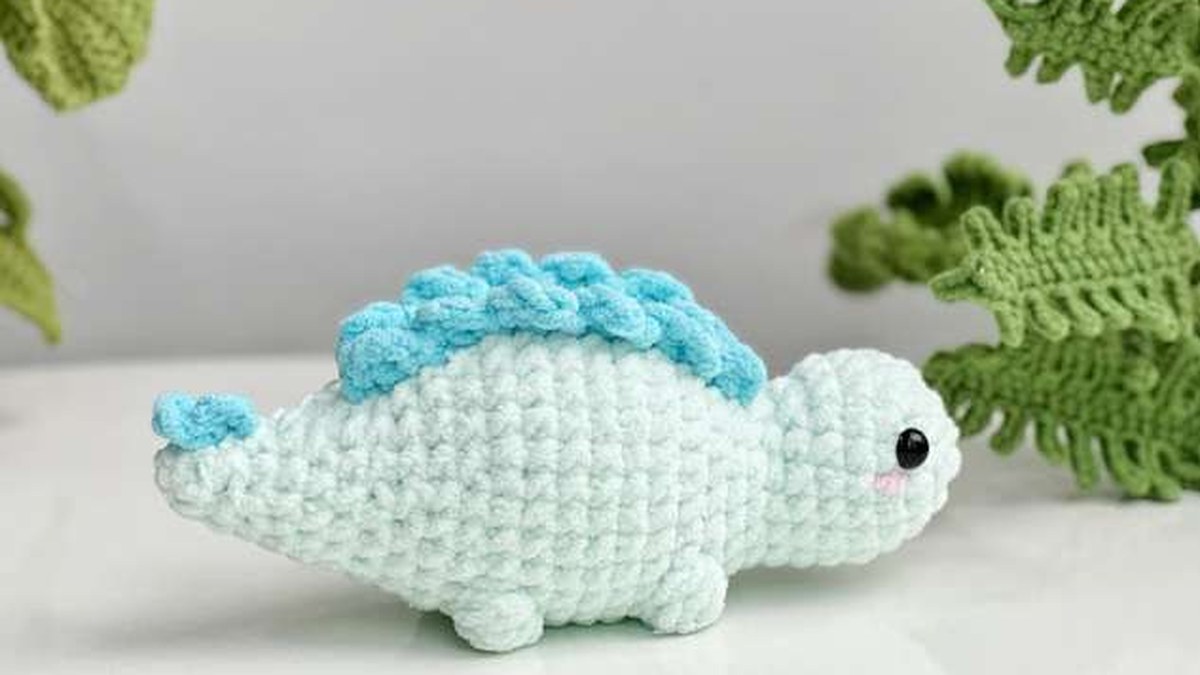
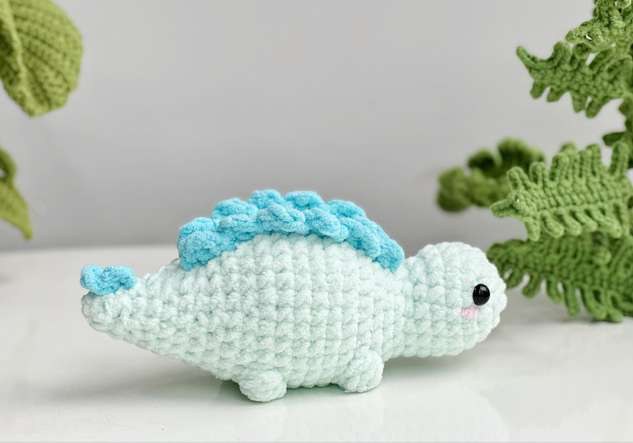
Before You Start
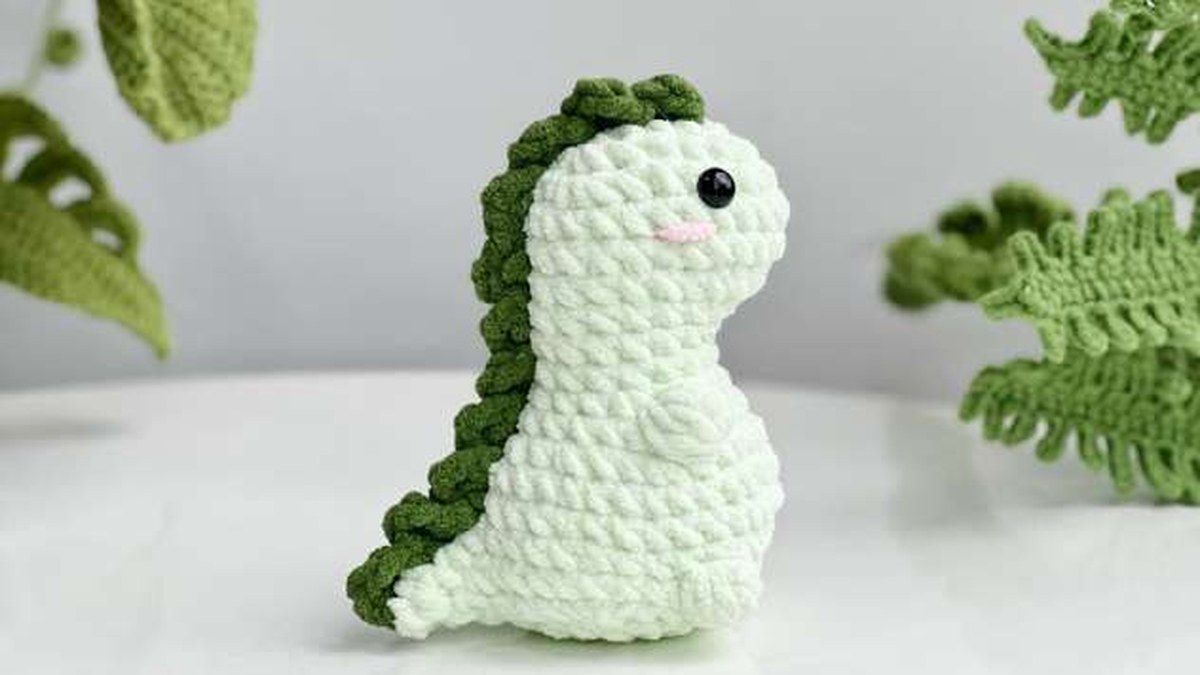
- No sewing! This dinosaur is worked in one piece from start to finish. The legs are bobbles worked right into the body, and the spikes are crocheted onto the surface at the end.
- A small hook on purpose. A 3.5 mm hook with super bulky plush yarn makes a very tight fabric, so no stuffing peeks through. If your stitches are too hard to work into, go up to a 4 mm (US G-6) hook.
- Join each round with a sl st to the first st and ch 1. The ch 1 does not count as a stitch.
- Stitch counts are in brackets at the end of each round. Count often. Plush yarn makes it hard to see stitches, so a stitch marker in the first stitch of every round really helps.
Special Stitches
- Bobble (BO): In the same stitch, *yarn over, insert your hook, yarn over and pull up a loop, yarn over and pull through 2 loops*; repeat from * 4 more times (6 loops on your hook). Yarn over and pull through all 6 loops. The bobble pops out on the right side and makes a little foot. Counts as 1 stitch.
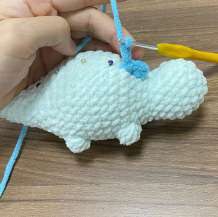
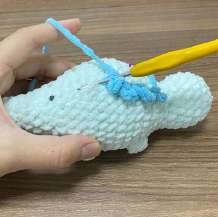
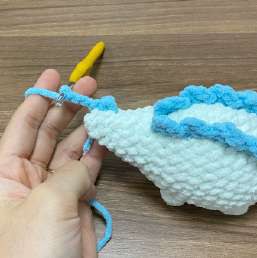
- Surface crochet (for the spikes): Hold the new yarn inside or behind the body, insert your hook through a stitch on the surface, and pull up a loop. Then work the spike instructions from stitch to stitch along the line you want.
Part 1: The Head
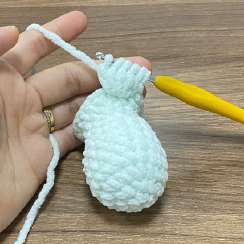
With light blue (MC).
- Rnd 1: 6 sc in a MR. (6)
- Rnd 2: Inc in each st around. (12)
- Rnd 3: *Sc, inc*; rep 6 times. (18)
- Rnds 4–6: Sc in each st around. (18)
- Rnd 7: Sc in the next 6 sts, dec 3 times, sc in the next 6 sts. (15)
- Rnd 8: Sc in each st around. (15)
- Rnd 9: Sc in the next 4 sts, *sc, inc*; rep 3 times, sc in the next 5 sts. (18)
Stuff the head.
Part 2: The Body and Feet
- Rnd 10: Sc in each st around. (18)
- Rnd 11: Sc in the next 3 sts, *sc, inc*; rep 6 times, sc in the next 3 sts. (24)
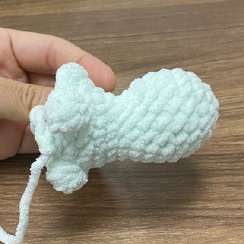
- Rnd 12 (front feet): Sc in the next 2 sts, BO, *sc in the next 2 sts, inc*; rep 6 times, BO, sc in the next 2 sts. (30)
- Rnds 13–17: Sc in each st around. (30)
- Rnd 18 (back feet): Sc in the next 2 sts, BO, sc in the next 24 sts, BO, sc in the next 2 sts. (30)
- Rnd 19: Sc in the next 3 sts, *sc in the next 2 sts, dec*; rep 6 times, sc in the next 3 sts. (24)
- Rnd 20: Sc in each st around. (24)
Part 3: The Tail
- Rnd 21: *Sc in the next 2 sts, dec*; rep 6 times. (18)
- Rnd 22: Sc in the next 6 sts, dec 3 times, sc in the next 6 sts. (15)
- Rnd 23: Sc in each st around. (15)
- Rnd 24: Sc in the next 4 sts, dec 3 times, sc in the next 5 sts. (12)
- Rnd 25: Sc in each st around. (12)
Stuff the body firmly and the tail lightly.
- Rnd 26: *Sc, dec*; rep 4 times. (8)
- Rnd 27: Sc in each st around. (8)
- Rnd 28: Dec around. (4)
Fasten off, pull the last stitches closed with your yarn needle and weave in the end.
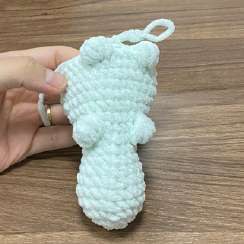
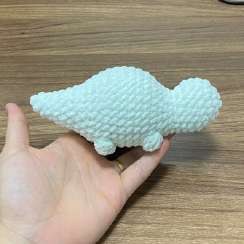
Part 4: Back Plates and Tail Spikes
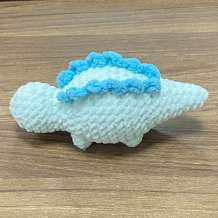
With blue (CC), surface crochet two lines of plates side by side along the top of the back, from Rnd 10 to Rnd 22.
- Plates (make 2 lines): *Ch 3, dc in the next st, sl st in the next st*; rep 6 times. (6 plates per line) Fasten off after each line.
- Tail spikes: At the tip of the tail, on Rnds 27–28: *ch 3, sl st in the next st*; rep 3 times. (3 spikes) Fasten off.
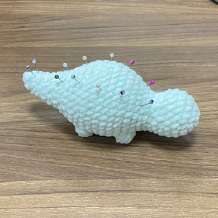
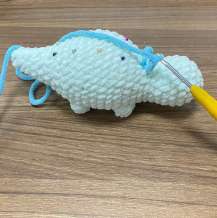
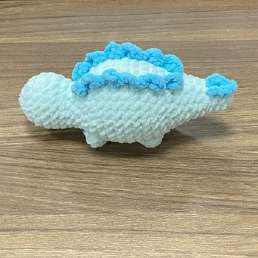
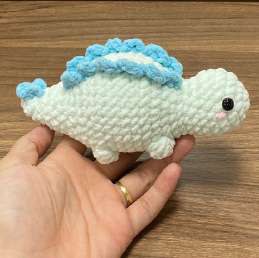
Optional: Embroider rosy cheeks under the eyes with a few stitches of pink yarn.
Collect the Whole Dino Family
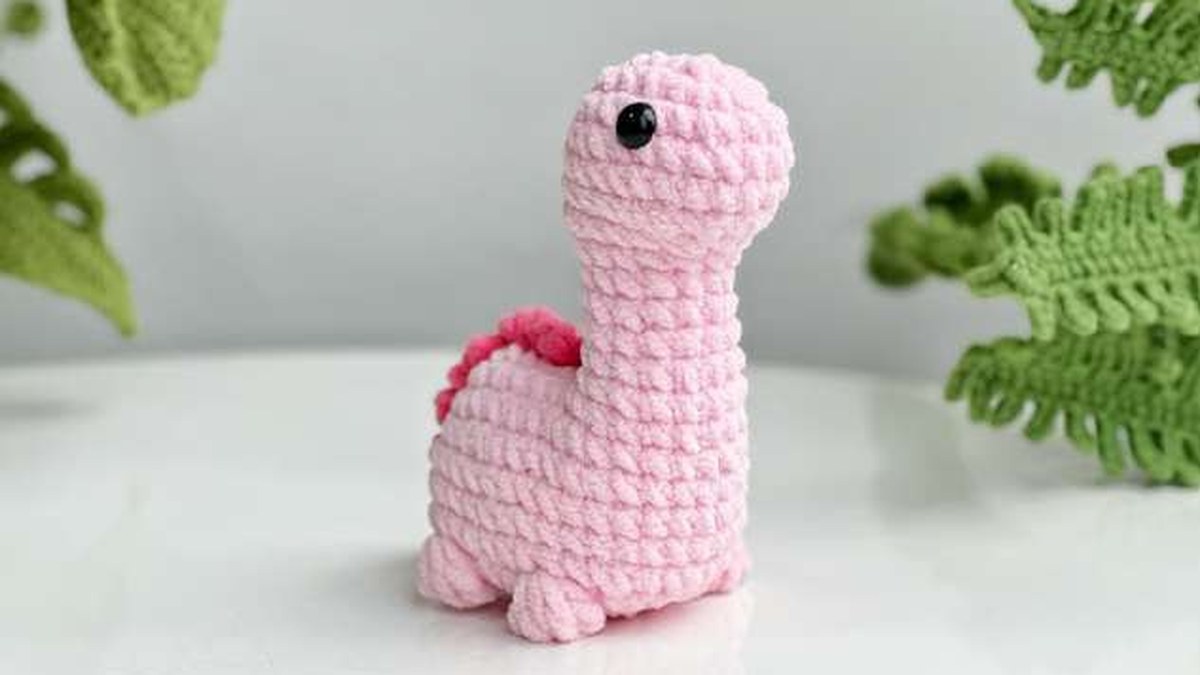
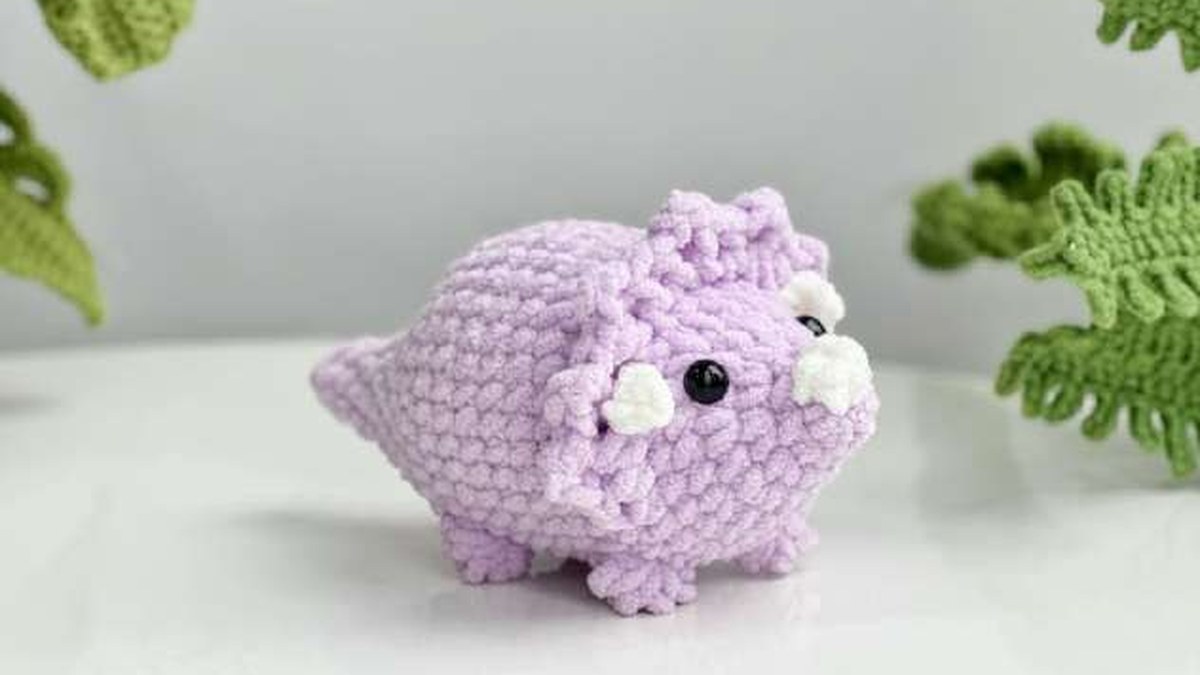
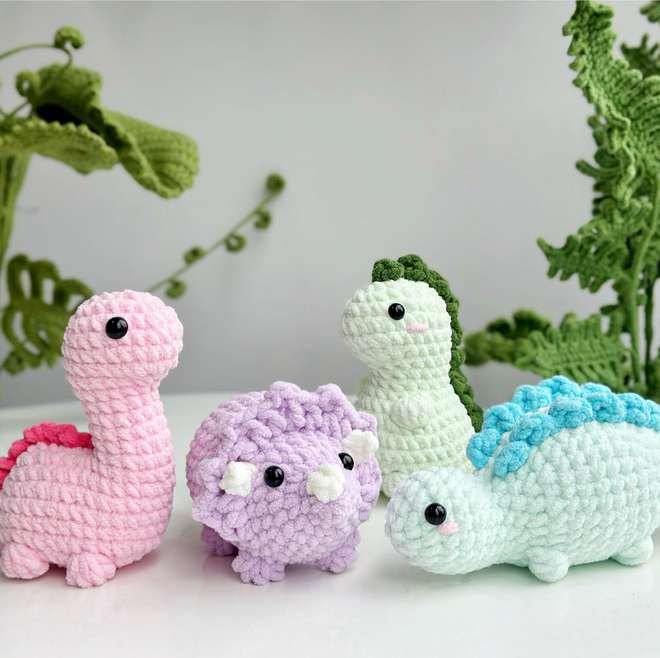
This little one has three friends! The brachiosaurus, stegosaurus, triceratops and T-rex are all free no-sew patterns, and they look adorable lined up together on a shelf or tucked into a gift basket.
Care and Safety
Hand wash in cool water with a little mild soap, gently squeeze out the water in a towel (don’t wring it), and let your dinosaur air dry. Plush yarn can shed if it’s tumbled in a dryer. If the toy is for a baby or young child, embroider the eyes and check the spikes are worked on securely.